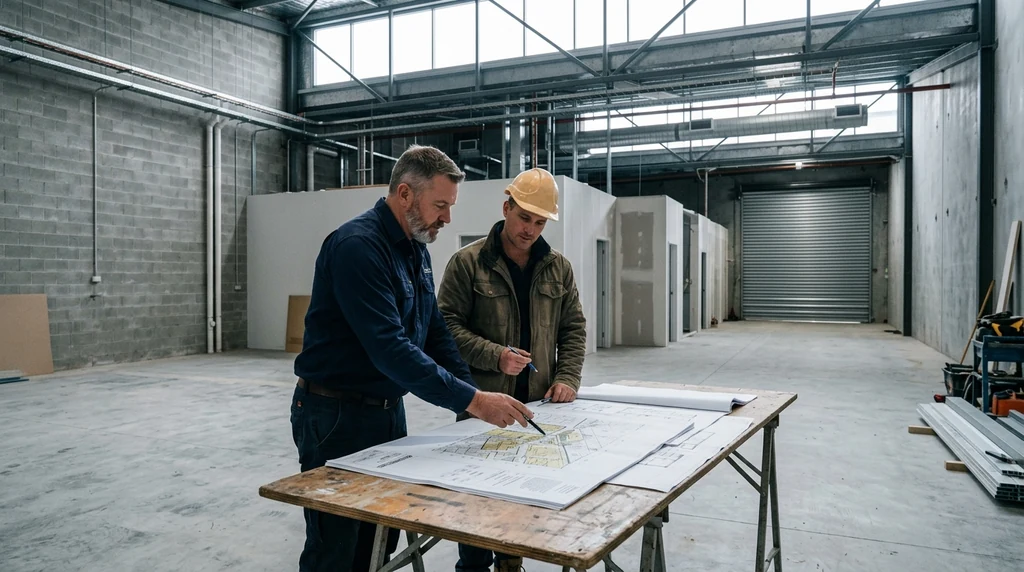
Town planning can feel like a maze for anyone looking to build, renovate or subdivide in Melbourne. Between council requirements, zoning rules and the Victoria Planning Provisions, it’s easy to see why so many property owners feel unsure of where to start. This guide breaks the process down into clear steps so you know what to expect before you begin.
Town planning is the process councils and the Victorian Government use to manage how land is used and developed. It exists to make sure new buildings and developments fit within a neighbourhood, meet safety and environmental standards, and support the way a suburb is expected to grow over time. Every planning scheme in Victoria sets out zoning, overlays and requirements specific to that municipality, which is why the process can look different depending on where your property is located.
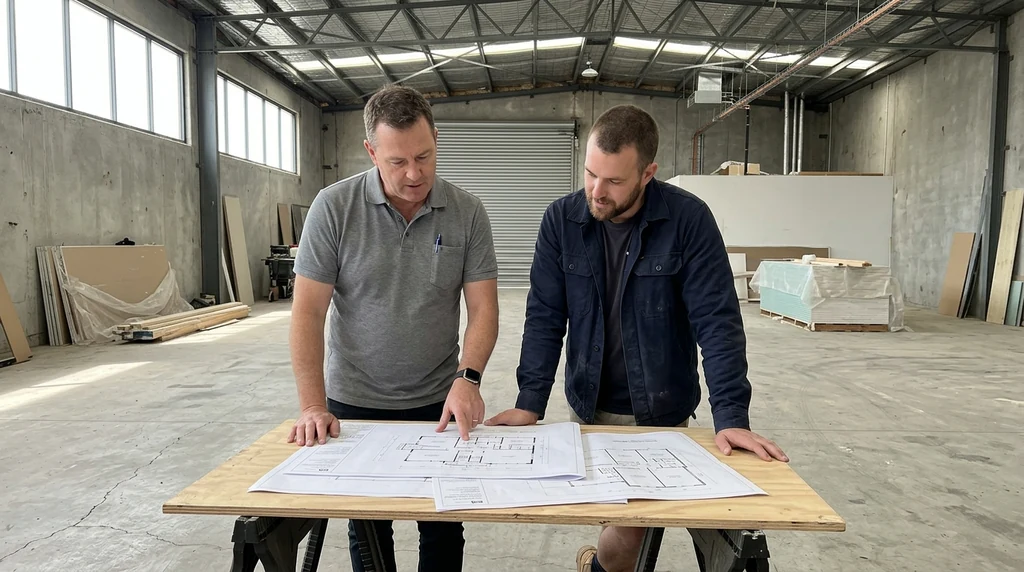
Once you know a permit is likely needed, it helps to bring in people who understand the planning system and can prepare accurate documentation. This typically includes a town planner, a building designer or draftsperson, and sometimes a surveyor, depending on the complexity of the site. Working with a team that offers drafting services in Melbourne alongside planning support can make this stage smoother, since your plans, reports and permit application are developed together rather than as separate pieces that need to be reconciled later.
Step 1: Work Out If You Need a Planning Permit
Not every project requires a planning permit. Some straightforward builds fall under exempt or as-of-right categories, while others, particularly those involving heritage overlays, vegetation removal, subdivision or significant alterations, will almost always need council approval. Checking your property’s zoning and overlays through your local council is the first practical step, since this determines what documentation you’ll need and how long the process might take.
Step 2: Get the Right Professionals Involved Early
Step 3: Research the Site Thoroughly
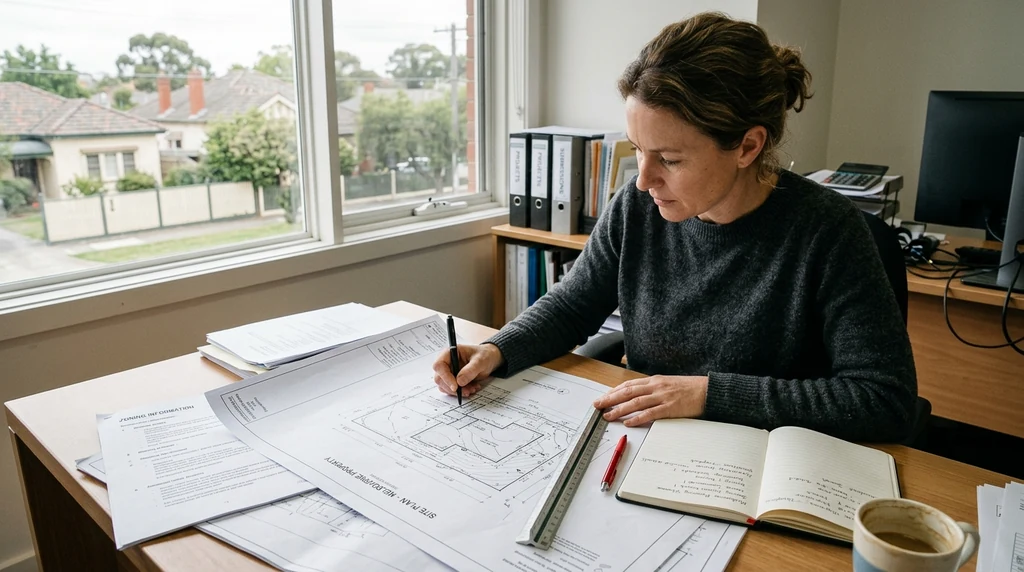
Before any application is lodged, it’s worth understanding everything that could affect your project. This includes zoning controls, easements, heritage overlays, bushfire or flood-prone area classifications, and any covenants attached to the title. Skipping this step is one of the most common reasons applications get delayed or rejected, since councils will often send an application back if key site constraints haven’t been addressed upfront.
Step 4: Prepare and Lodge the Planning Application
A planning application usually includes site plans, elevations, a written planning report, and sometimes additional technical reports such as traffic, stormwater or arborist assessments. The level of detail required depends on the scale of the project and the specific planning scheme controls that apply to your property. Once everything is compiled, the application is lodged with the relevant council for assessment.
Town planning decisions are easier to handle when the design team is chosen well. Choosing the best building designer helps you understand the experience and communication needed before plans move further.
Step 5: Public Notification and Consultation
Depending on the type of development, councils may require the application to go through a notification process, sometimes called “advertising.” This gives neighbours and other affected parties the chance to view the plans and raise objections or concerns. Larger developments or those with potential amenity impacts are more likely to require this step, while smaller residential projects often proceed without it.
Step 6: Council Assessment and Decision
Council planners will review the application against the relevant planning scheme, local policies and any submissions received during notification. This assessment considers things like site suitability, neighbourhood character, environmental impact and compliance with setback or height controls. Once the review is complete, the council will issue a decision, either approving the permit, approving it with conditions, or refusing the application.
Step 7: Moving from Permit to Construction
Once a planning permit is granted, there’s often a further step of securing a building permit before construction can start. This is a separate process focused on structural and safety compliance rather than land use. From here, you can engage contractors, finalise construction drawings and begin building in line with the approved plans and permit conditions.
Why the Details Matter
Many delays in the Victorian planning system come down to incomplete documentation or misunderstandings about what a specific overlay or zone actually requires. Taking the time to get accurate site information and well-prepared plans from the outset tends to save far more time than it costs, particularly for projects in areas with heritage overlays, environmental significance overlays or vegetation protection controls.
Approval pathways can slow a project down when the drawings are unclear. Professional drafting services and project efficiency explains how better documentation can reduce back-and-forth between owners, consultants and builders.
Getting Started on Your Project
Town planning in Melbourne doesn’t have to be overwhelming once you understand the sequence of steps involved. Identifying whether a permit is needed, researching your site properly, and preparing thorough documentation are the foundations of a smoother approval process. If you’re planning a renovation, new build or subdivision anywhere in Victoria, working through these steps methodically, and getting the right professional input early, puts you in a much stronger position when your application reaches council.