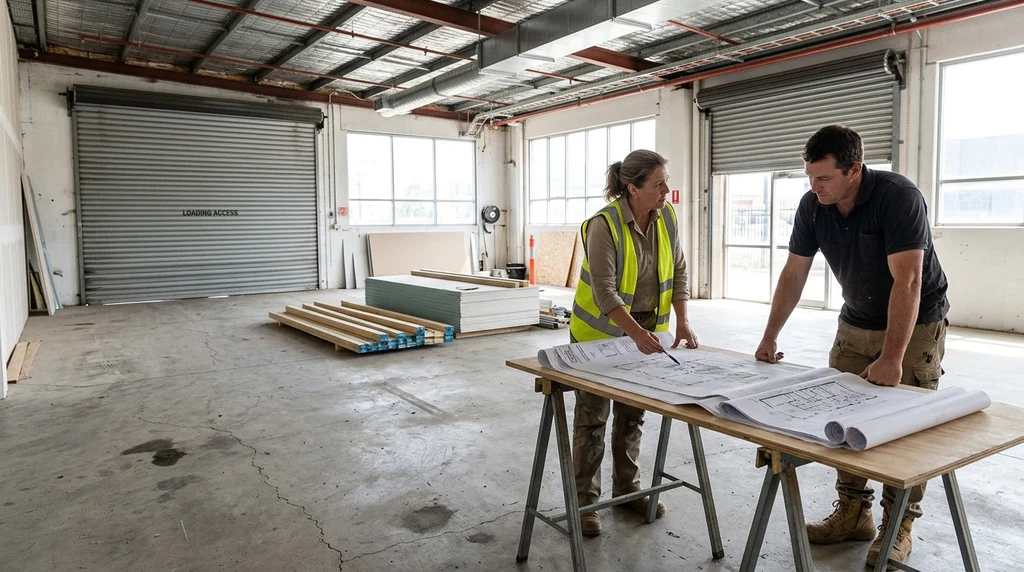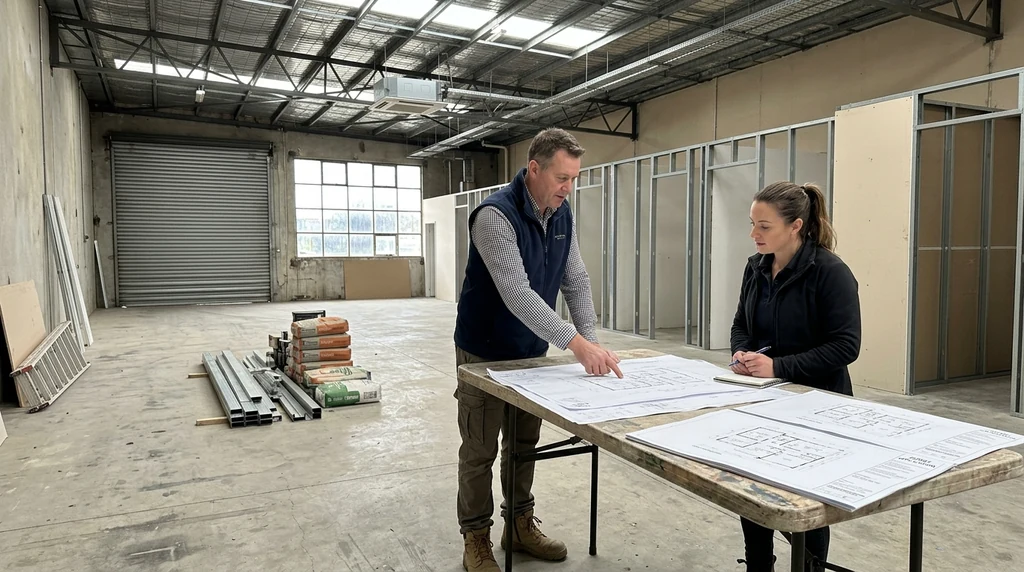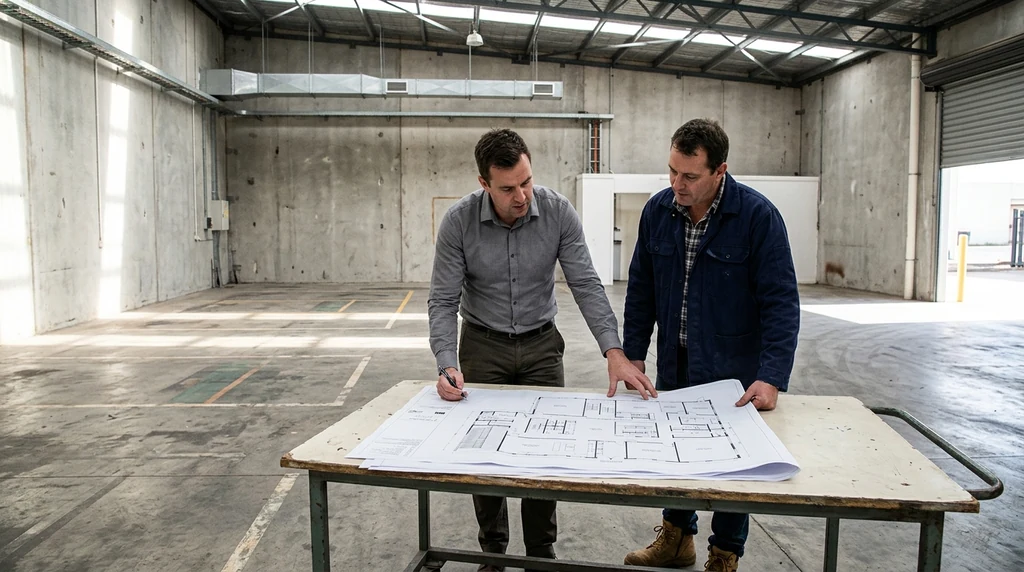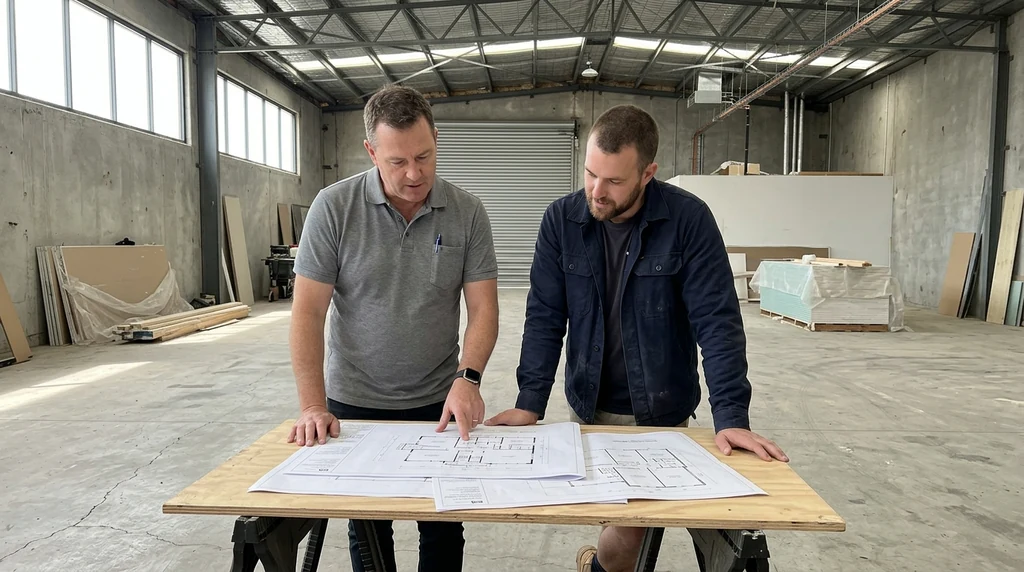
A home floor plan is the starting point for almost every construction or renovation project. It’s a technical drawing that sets out the layout, dimensions and placement of rooms, doors, windows and services within a home. Getting it right early on makes every stage that follows, from council approval to builder quoting, far more straightforward.
This guide walks through the basics of home floor plan drafting and what Melbourne homeowners should understand before committing a design to paper or screen.
Understanding the Basics of Drafting
Floor plan drafting relies on a set of standard symbols and terms. Doors, windows, electrical points and plumbing fixtures each have their own recognised symbol, and getting familiar with these makes it easier to read and interpret any plan, whether it’s your own or one prepared by a draftsperson.
For homeowners in Melbourne planning a renovation or new build, working with a team that can produce clear plans for approvals and builder pricing removes a lot of the guesswork from this stage, particularly when council requirements and site conditions need to be factored in from the outset.
Key terms worth understanding include:
- Scale – the ratio between the drawing and the actual building
- Elevation – a view of the building from one side, showing height and external features
- Cross-section – a cut-through view showing internal structure
Dimensions also need to be recorded accurately, as these figures are what builders, engineers and council assessors rely on when reviewing a project.
Drawing to Scale
Floor plans are drawn to scale so the entire home’s layout fits sensibly onto a sheet or digital canvas. In Australia, residential plans are commonly drawn at 1:100, meaning 1cm on the plan represents 1m in real life. For hand-drawn plans, a scale ruler is essential. Digital drafting software allows the scale to be set once and applied consistently across the whole drawing, which reduces the chance of measurement errors creeping in.
Building the Floor Plan Step by Step
Most floor plans start with the exterior walls, followed by interior walls that define individual rooms. From there, doors and windows are added, along with furniture layouts to show how each space will actually function. Every room should be labelled and measured clearly.
Accuracy matters at every step. A small error in a bedroom dimension or a misplaced door swing can cause problems later when the plan is used for pricing, permits or construction.
Incorporating Key Features Beyond Walls and Rooms
A floor plan isn’t only about walls and room shapes. It also needs to show plumbing lines, electrical layouts, HVAC systems and built-in furniture such as wardrobes or kitchen cabinetry. Including these elements gives a fuller picture of how the home will actually work once built, and helps avoid costly clashes between trades during construction.
For renovation projects in particular, showing existing services alongside proposed changes helps builders and trades understand what needs to be relocated, retained or upgraded.
Using Digital Drafting Tools
Digital drafting tools such as AutoCAD, SketchUp and Revit are widely used across the industry. They offer precision, allow quick modifications, and can generate 3D visualisations that make it easier to picture the finished space before construction begins.
While these tools take time to learn, they’re valuable for anyone drafting plans regularly, and they make it far simpler to produce the level of detail councils and builders expect from a submitted plan.
Ensuring Compliance with Victorian Requirements
Any floor plan intended for construction needs to meet the National Construction Code (NCC), relevant Australian Standards, and local council planning requirements. In Victoria, this can include specific rules around setbacks, overshadowing, siting and energy efficiency, depending on the municipality and zoning of the property.
These requirements govern aspects such as safety features, accessibility and energy performance, and they can vary between councils across metropolitan Melbourne and regional Victoria. It’s worth checking with the relevant council or a qualified drafting professional before finalising a plan, particularly for renovations that affect the building’s footprint or height.
Reviewing and Refining the Plan
Drafting is rarely a one-pass process. Once an initial plan is drawn, it’s common to review it, make adjustments, and refine details as the design develops. This might mean reconsidering room sizes after seeing how furniture fits, adjusting window placements for better natural light, or shifting a wall to improve flow between spaces.
The goal throughout is a plan that is functional, practical to build, and compliant with the relevant codes and council rules. Taking the time to review and refine before submitting for approval or pricing can save considerable back-and-forth later in the project.
Before you brief anyone on a floor plan, it helps to know which questions to ask before hiring an interior drafting service so the early design work does not drift away from budget, approvals or how the space needs to function.
Bringing It All Together
Mastering home floor plan drafting comes down to understanding the basics, drawing accurately to scale, building the plan methodically, incorporating all the key services and features, using the right tools, and checking compliance at every stage. For homeowners preparing for a renovation or new build in Melbourne, a well-drafted plan sets the foundation for a smoother approval process and more accurate pricing from builders down the track.